建议
- 没有建议
推荐产品
- 没有推荐的搜索内容
网站页面
- 没有相关的网站页面
Notes:
Step 1First, download the driver to your computer. |
|
Step 2Once the file has downloaded to your computer, navigate to where you saved it and right-click the zipped file. |
Step 3Select “Extract Files” and select your computer’s desktop as the destination. |
Step 4If the VeriMark IT reader is not connected to the computer, please connect it now to an open USB-A port. |
Step 5Navigate to Device Manager. |
| • (Windows 10) Right-click the “Windows Button” and select “Device Manager” | 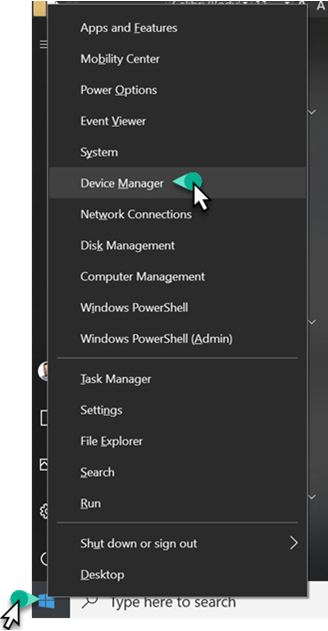 |
|
OR
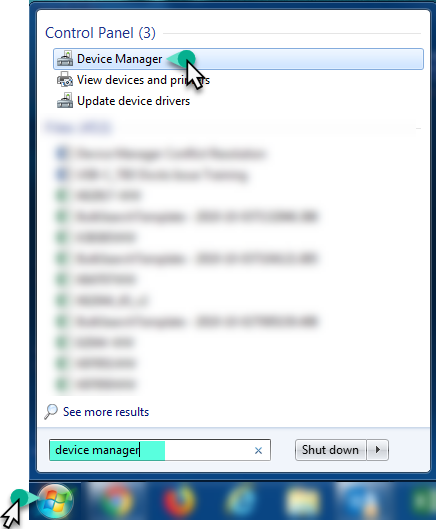
• (Windows 7) Navigate to Start --> Search --> Type “Device Manager” and then click on “Device Manager” |
|
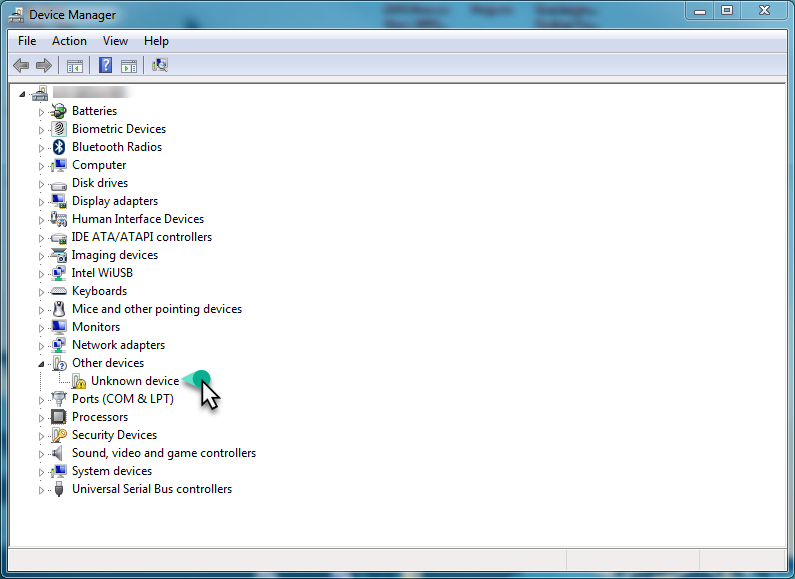
Step 6From here, you can confirm that VeriMark IT is displaying as an “Unknown Device”. |
|
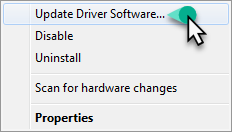
Step 7Using your mouse, right-click on “Unknown Device” from within the Device Manager window. |
Step 8Select “Update Driver Software…”. |
|
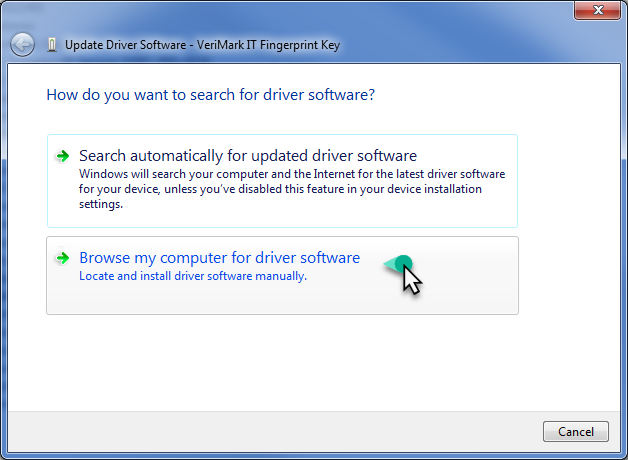
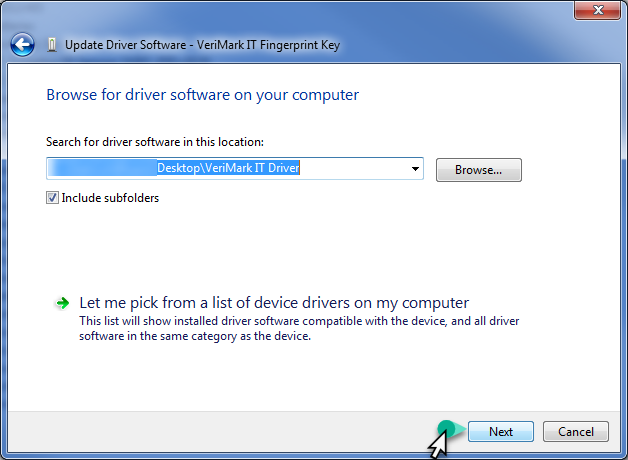
Step 9Select “Browse my computer for driver software”. |
|
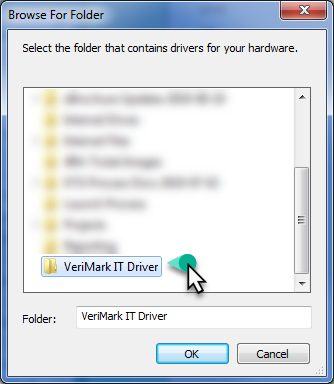
Step 10Scroll down and select the “VeriMark IT Driver” folder. |
|
Step 11Once selected, click “OK”. |
|
Step 12Now that the folder containing the driver is selected, click “Next” and follow the prompts to finish the install process. |
|
Step 13Once the driver has been successfully installed, it should appear as follows within Device Manager. |
|
Step 14With the driver installed, you can now proceed to registering your fingerprint(s). • For a step-by-step walk-through on how this is done, |
Step 15If you already know how to register your fingerprint(s) and wish to proceed to setting up Windows Hello for Business, |